


I recently gave a presentation on lensless photography to my artists’ group. I figured that since I had all the text and images, I could share them here with you. It is intended to give a brief overview of many techniques. This was about a half-hour presentation, and there are 69 images. All of these images are copyright of the creators, except the ones from the 19th century, which are out of copyright.
Cameraless Photography
We’re all photographers who make images using cameras, but there are other forms of photographic art, ones that don’t use cameras or lenses. Some of these techniques date to the discovery of the medium. So let’s talk about them.
But first, let’s talk about how we define them. For my purposes, I’m talking about processes that use light-sensitive paper to create images, but don’t use lenses to focus light.

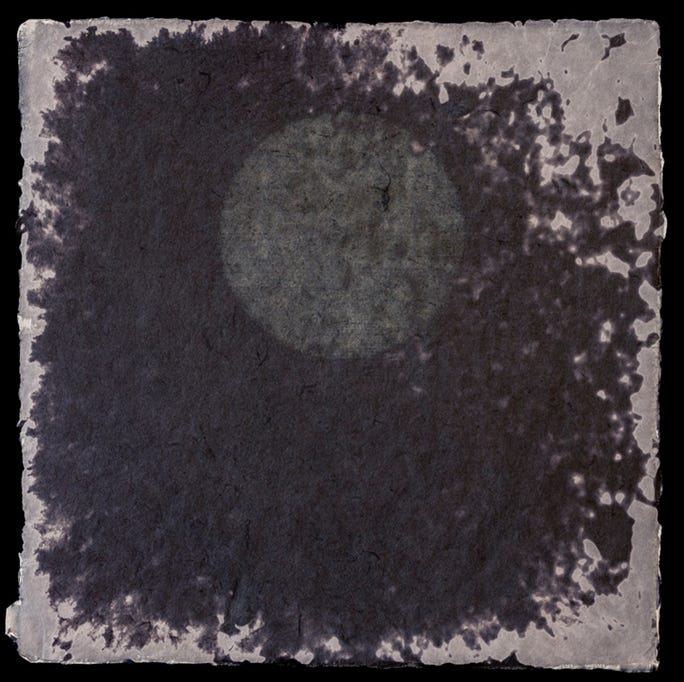
Quite probably, the first photographic works were lumen prints. That is, light-sensitive paper with objects placed on it, and set in the sun. This was used very often for botanical studies, as plants were photogenic subjects. This is also referred to as a photogram, when created under artificial light.

In 1834, William Henry Fox Talbot found that a sheet of fine writing paper, coated with salt and brushed with a solution of silver nitrate, darkened in the sun, and that a second coating of salt impeded further darkening or fading. Fox Talbot used this discovery to make precise tracings of botanical specimens. He called his new discovery “the art of photogenic drawing.”
There are many types of photographic paper that you can use. Silver Gelatin paper is quite common, but you can you color paper, and even film. You can use paper that results in a positive, or a negative image. I just want to mention two other specific chemical processes.

The cyanotype process was discovered in 1840, and used well into the mid twentieth century as a way to reproduce technical drawings – blueprints. The chemicals are sensitive only to blue and UV light and are well suited for use on cloth.

The other chemical process I want to mention is the anthotype. The process involves exposing a positive image on a surface coated with vegetable pigments, and UV light creates a photograph. The parts exposed to the light will be bleached out while the covered parts retain the pigment. Note there is no fixer for vegetable pigments. The emulsions shown here were made of spinach, beet and red wine, respectively.
There are many different ways to produce images. You can use flat objects, three-dimensional ones, or 3D objects that are pressed flat.

You can use found objects or ones that are created for the purpose.
Liz Nielsen replaces the traditional negative with hand cut collages comprising different colored gels, and she projects her forms onto chromogenic paper.
It seems that few artists seem to want to divulge their secrets. I can’t even guess how Megan Riepenhoff made this image.

DM Witman doesn’t give much detail about her processes. This one is described as “hand-cultured salt crystals.” My guess is that she cultured salt crystals on a tray with photo paper in it, and then exposed it to light.
This one from a series she says was “expressed with salt, silver, handmade papers, and metal threads,” and more specifically for this image, “unique gold-toned salted-paper on handmade abaca” (which is a kind of hemp).

I mentioned that you can use black and white, or color paper. Interestingly, using b/w paper yields colors. These colors change greatly during the fixing process, so some artists scan their work before fixing, and the scan becomes the published artwork.

Some artists don’t fix the images at all, and store them in the dark.

There are some processes used for technical purposes, that are essentially photograms, for example, the radiograph, or X-ray. Nick Veasy creates X-ray scenes as artworks.

I have not included many digital processes because they often incorporate imaging technologies similar to lenses, but I wanted to mention one notable artist who creates digital photograms. Thomas Ruff creates virtual 3D environments which he uses to model a photogram exposure. So this is a fully digital creation.

Another way to make a photogram is to not use static objects for the exposure. Nicola Bourke puts the paper underwater and uses a strobe to freeze the movement.

Other artists move their objects over long exposures, and even move the light source.

This work by Michael Flomen incorporates autonomously moving light sources – fireflies.

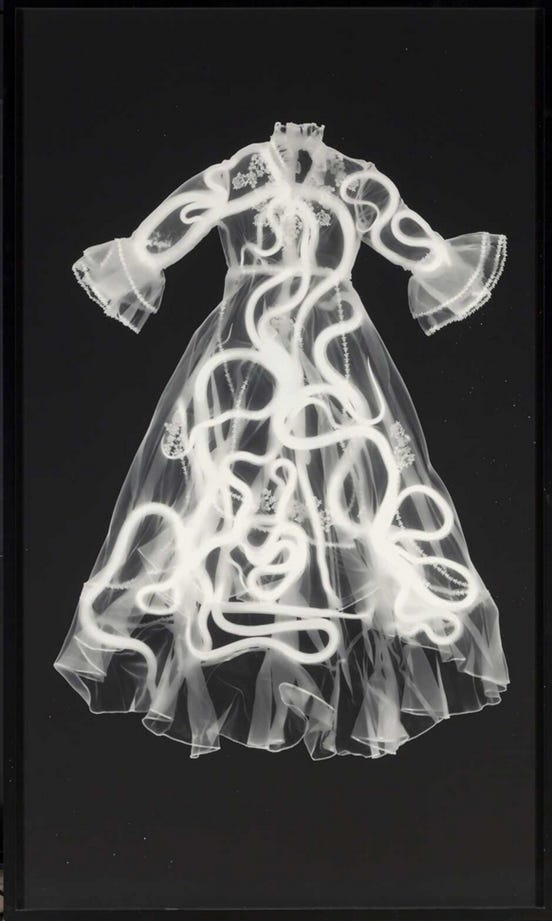
A luminogram or lumengram is made not by putting objects between the paper and the light, but by shining light directly onto the paper. A well-known practitioner of this style is a UK artist named Michael Jackson. Like many big-name artists, he doesn’t seem to share a lot of his techniques; but there was one demonstration I saw where he held lit matches over the paper. His work is always described as using only a light source but I don’t know how images like this could be made without masks.

Liz Deschanes puts her photopaper under the moon.
For this image, Marco Breuer strapped lights to his fingertips. This is the result of the motions of loading a 12-gauge shotgun.

Shaina Gates does what I would consider a combination of lumengram and photogram. She doesn’t place objects on the paper, but folds the paper on itself to cast the shadows. The fewer the layers in any given spot, the darker the paper becomes. She uses paper or film, and folds them over and puts them in the sun for a few hours before fixing.

Some artists don’t fold the paper completely over on itself, but just create wrinkles and valleys.

Rob Turney does refractography, where he uses a narrow beam of light refracted through or reflected from an object, and onto a camera sensor (without a lens).

Allison Rossiter’s pieces use only light, but her process is quite unique. She collects long-expired paper, and simply develops it. The gradations in the image depend on the condition of the emulsion and how much light got into the packaging during storage.

Her image titles often reference the brand of paper and the year it expired, and this paper is sometimes a century old.

Many of you are familiar with contact prints. That is, when an image is printed onto paper using a negative which is lying directly on the paper. Cliché verre is done the same way, but without using a photographically generated plate. An image is created by various means on a transparent surface, such as glass, thin paper or film, and then placed on light sensitive paper in a darkroom, before exposing it to light.

In the early days, it was common to draw or write on inked or smoked glass. It was largely used as a reproductive technique.

Notice when I defined these processes as using light-sensitive paper, I never said they had to use light. The chemigram uses photo paper, but the images are not made with light, but instead with chemicals. Most commonly, the artist uses developer and fixer to create the images. Developer turns the paper black and fixer keeps it white.
These chemicals can be dripped, dipped, brushed, sprayed or smeared on the paper. And they can be mixed.

In addition, most chemigram artists use resists - a substance that is applied to the paper, which keeps the chemicals from contacting the paper. This could be tape, oil, syrup, butter, toothpaste – anything you can think of. The resist is generally removed from the paper, but it could be left on the final product. Bridget Conn likes to draw lines with a stick of butter.

The originator of the chemigram, Pierre Cordier, says “I put some distance between myself and the notion of photography, hoping to be welcomed within the world of painting, because in fact I am neither a painter nor a photographer, but a bit of both. But the painting world couldn’t care less about this photographer, Cordier.”

Even with the chemicals, there are many different techniques. Cordier is known for scoring the paper then repeatedly dipping it in developer, alternating with fixer.


An alternative to this standard chemigram is where other types of chemicals are used to influence the paper.

One such process is the phytogram. Mix soda crystals, vitamin C and water, and coat a plant with it. Place it on the photo paper and then fix it. The plant leaves an image where it contacts the film, Certain compounds in the plants react with the vitamin C and soda to make a weak developer. This can be combined with sunlight to speed development. The sunlight can image the inner structure of the plants.

Similarly, many of these processes can be combined with other processes, or with standard photography. Double exposures can be made.

Or you could incorporate a photographic negative into a photogram.
Hal Rammel calls this a pinhole photogram. To be honest, I’m not sure exactly what that means, but I think it’s worth experimenting.

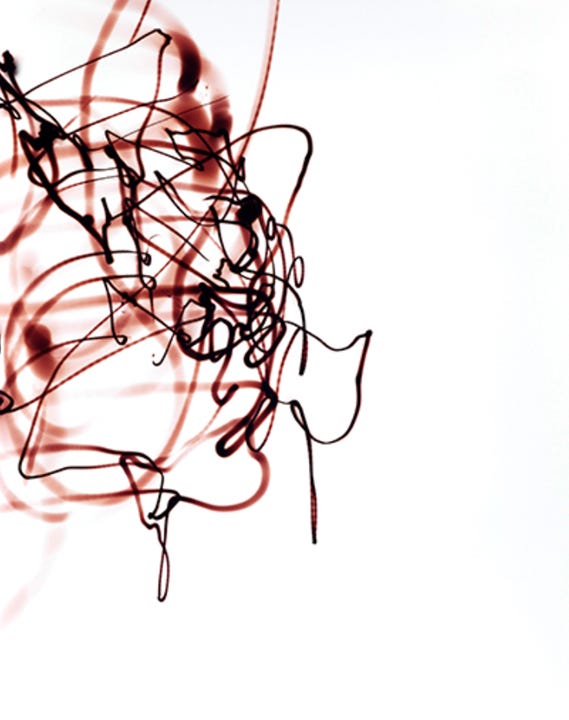
I’m not sure how Anna Luk makes her images, except she talks about light. But the marks that are clearly made by fluids – are they chemicals that interact with the emulsion, or simply masks for the light?

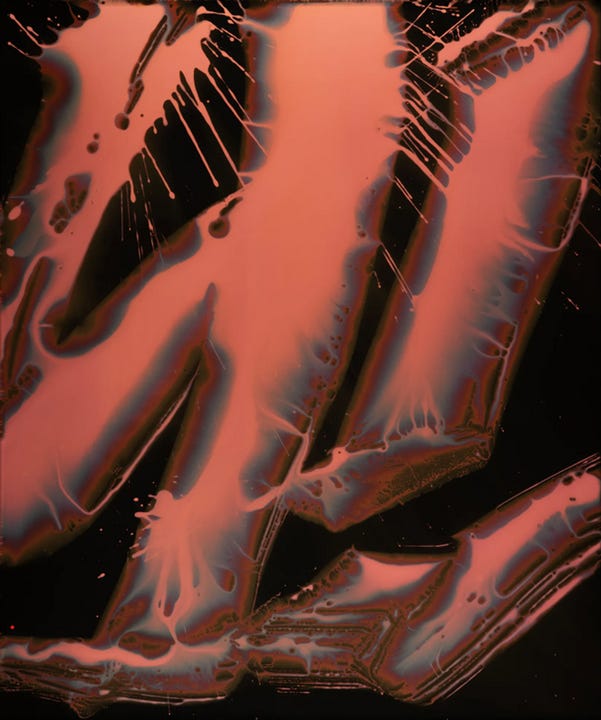
Similarly, Ross Sonnenberg’s images are described as photograms, but there are clearly marks from liquids.
Josef Neumann uses a process that he named chemogram. He exposes paper with a negative, and then treats it with developer, fixer or other chemicals.


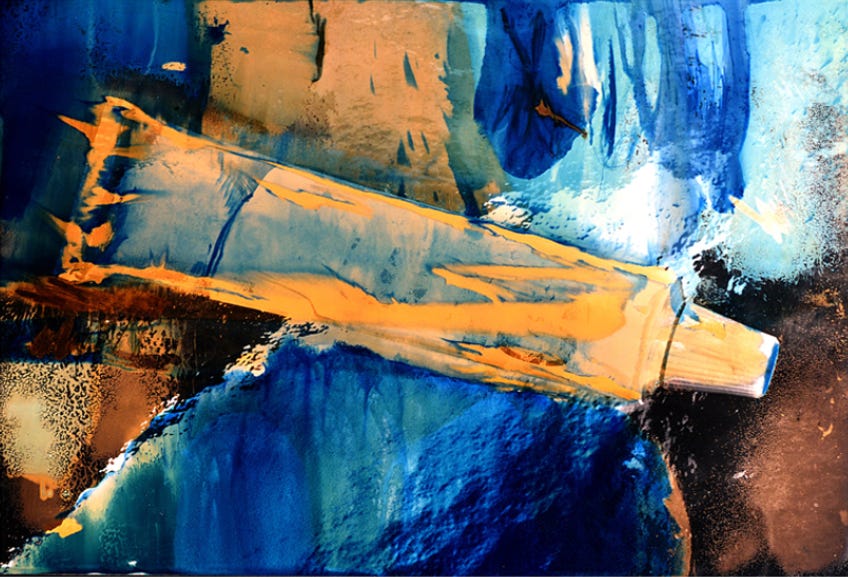
This work by David Fuss appears to be abstract tangles of colorful pigments, but they derive instead from animal intestines placed directly upon photo-sensitive paper and exposed to light. The lush hues are the result of light passing through the intestines as well as the chemical reaction of the organs in physical contact with the paper.

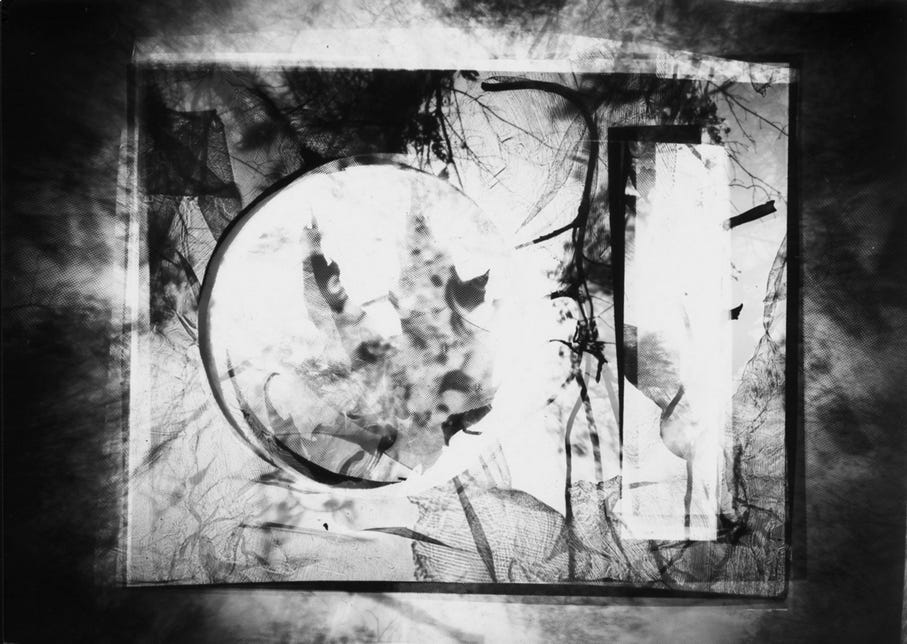
As shown earlier, DM Witman has many images which I find fascinating, but I don’t know how she makes them. These are slug trails, and I don’t know if the trails react with the emulsion, or if they just serve as a resist to the developer.
Finished photograms can be combined with objects, including the ones that were used to create the image.

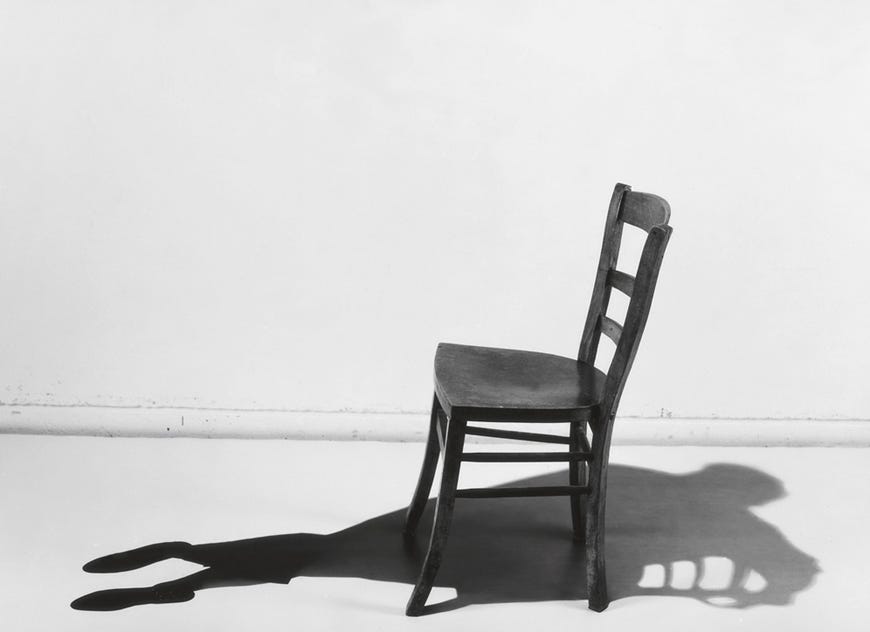
Now we’re going to see some even more extreme ways to create images on photographic paper. We’ll start out with a simple one. You remember the one created by Marco Breuer loading a shotgun? Here’s the result of firing a shotgun into a box with photographic paper. Not only does the paper have holes in it, but the new holes in the box allowed sunlight to expose the paper.
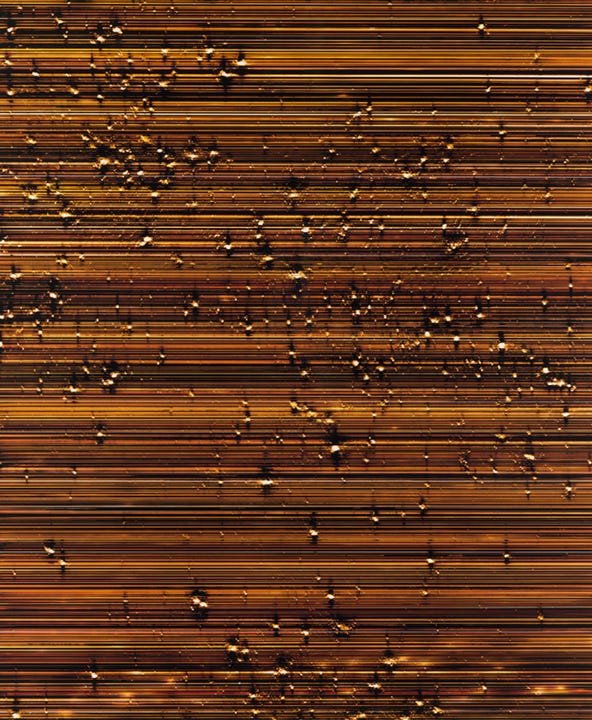
Another technique Marco Breuer uses is exposing light-sensitive paper to a partial or full spectrum of color—the latter turns the sheet entirely black—and then he begins stripping down the individual layers of cyan, magenta and yellow emulsion, sometimes bare.

He scrapes, slices, perforates, shaves and burns with a variety of tools, including sandpaper, embossing machines, Brillo pads, matches, torches, shotguns, razor blades and even his own teeth.

I think this shows an explosion of some kind – there are sparks.

And then there is electricity. This is Hiroshi Sugimoto again. He set the paper on a metal tabletop, and then discharged high voltage from a Van der Graaf generator. The sparks light up the paper.
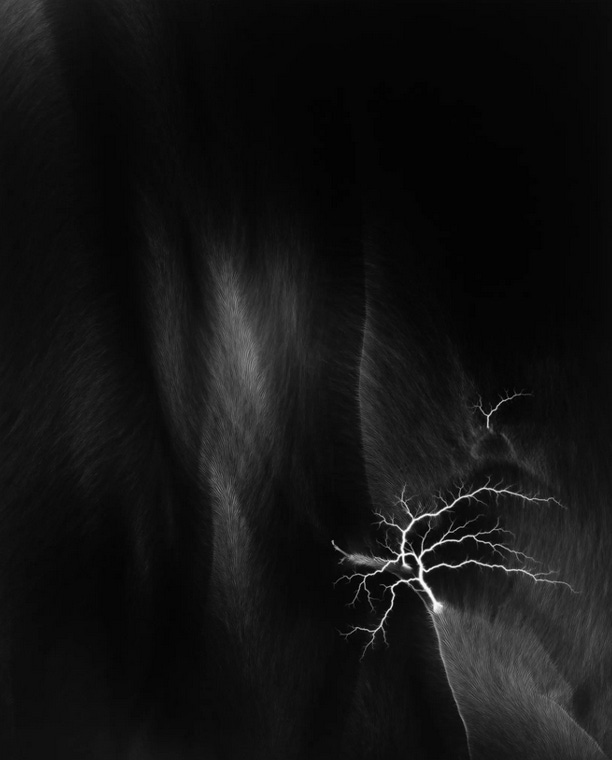
This image was created similarly, but with the paper underwater.

Ricardo Guixa figured out a way to control the location of the sparks.

And finally, Kirlian photography. This is a technique that creates images of an object's coronal discharge, which is an electrical discharge caused by the ionization of the gas around the object, resulting from high frequency, high voltage. Most Kirlian photography today is done through glass with cameras, but originally it was done with photo paper placed over a conductive plate.
Repurposing existing photographs

Another way to work with photography but not with a camera is to use existing photographs.
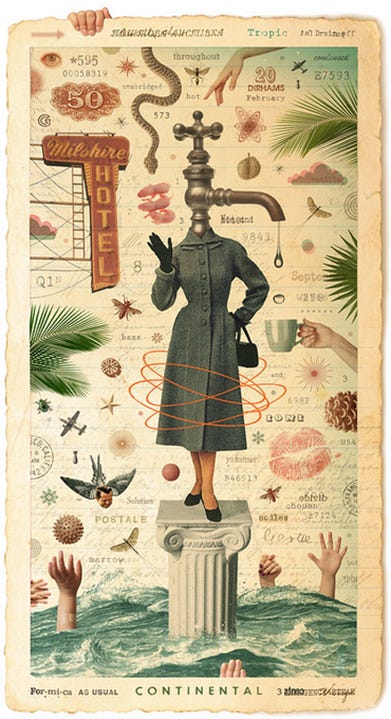
The most straightforward way to do this is collage.

Like any other form of art, there are many ways to do collage.
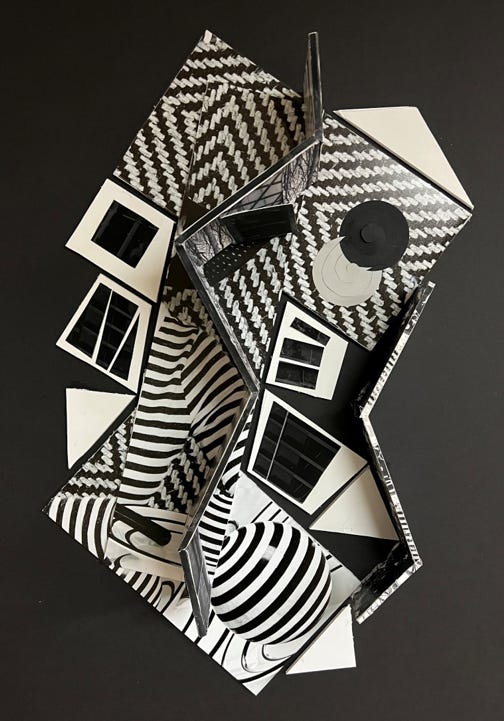
Even 3d constructions.

And collage can be done digitally.

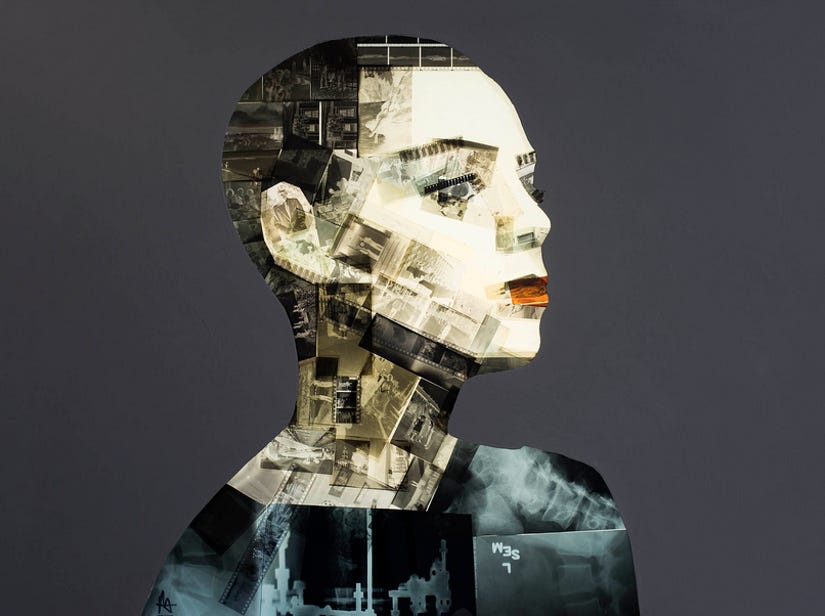
Art can be made of found photographs. They can be collected,

colored,
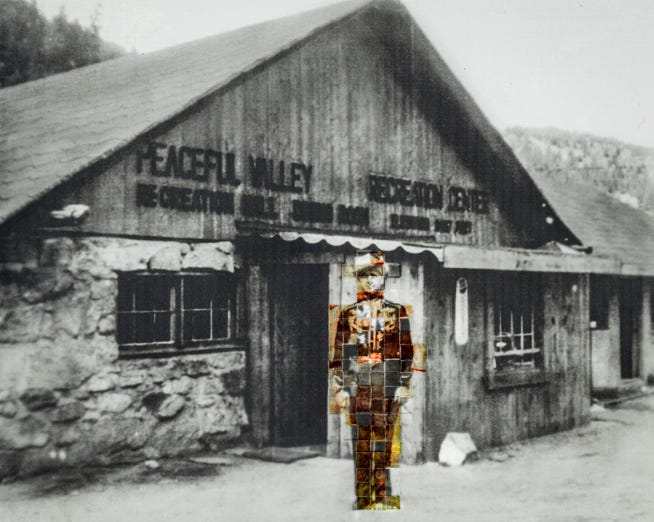
altered,
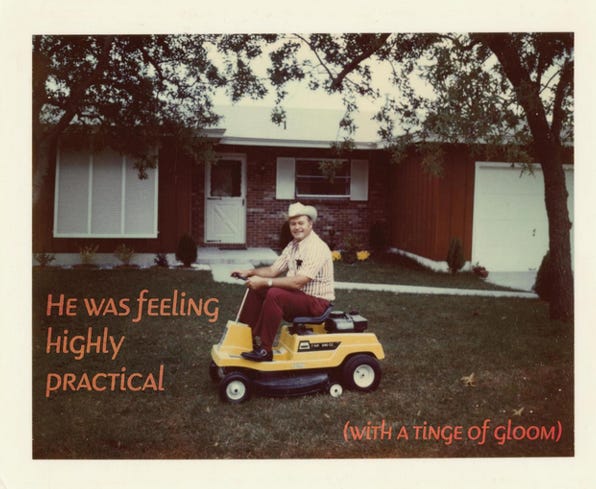
captioned,

or combined.

It can be sewn or embroidered upon


or woven.

It can be reworked into new forms. This image is laser-etched on glass.

These were black and white photographs reprinted as silkscreens with colors added.

Just watch out for copyrights!
I’m not sure how many names you recognized, but I want to point out that some of these artists are legendary and have their work in top galleries and museums, while others are people I know, and some are simply people who demonstrated their work to illustrate the processes on their own webpages.
Always have been drawn to alternative, you have covered a lot of of techniques here, some new to me. . Discovery is awesome, thanks for sharing!
Really cool overview! Bookmarked for future reference ;-)